
| Prep | 10 minutes |
| Rising | about 2 hours 30 minutes |
| Bake | 45 minutes |
| Cooling | 1 hour |
| Total | about 4 hours 25 minutes |
| Makes | 1 round loaf (about 12 slices) |
| Equipment | large mixing bowl, sturdy spoon or spatula, kitchen towel, 5- to 7-quart Dutch oven with a lid, parchment paper, oven mitts |
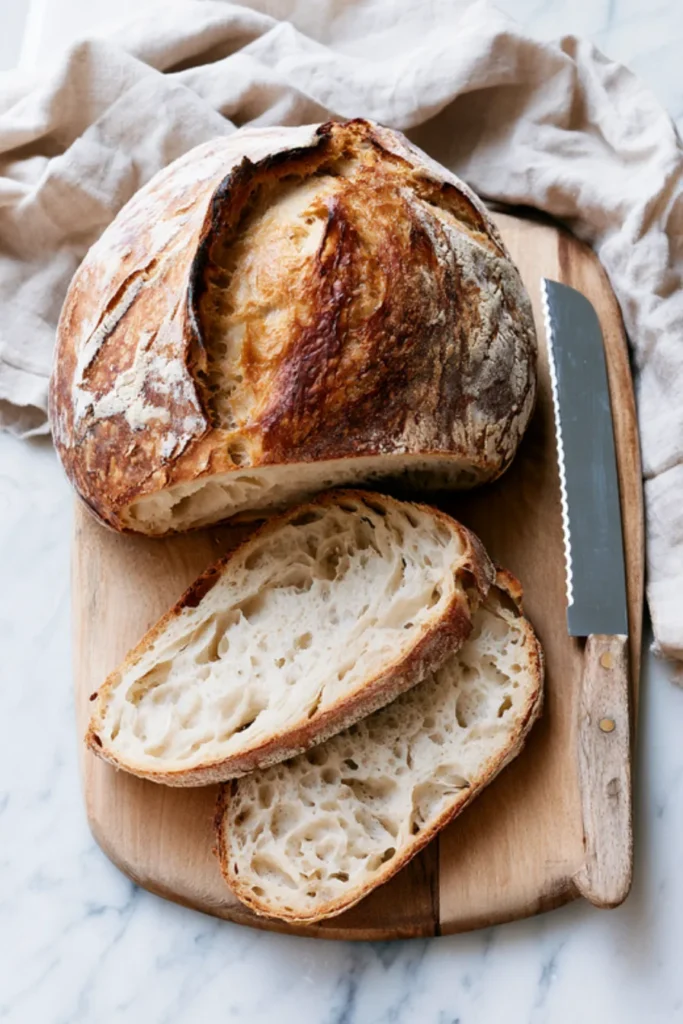
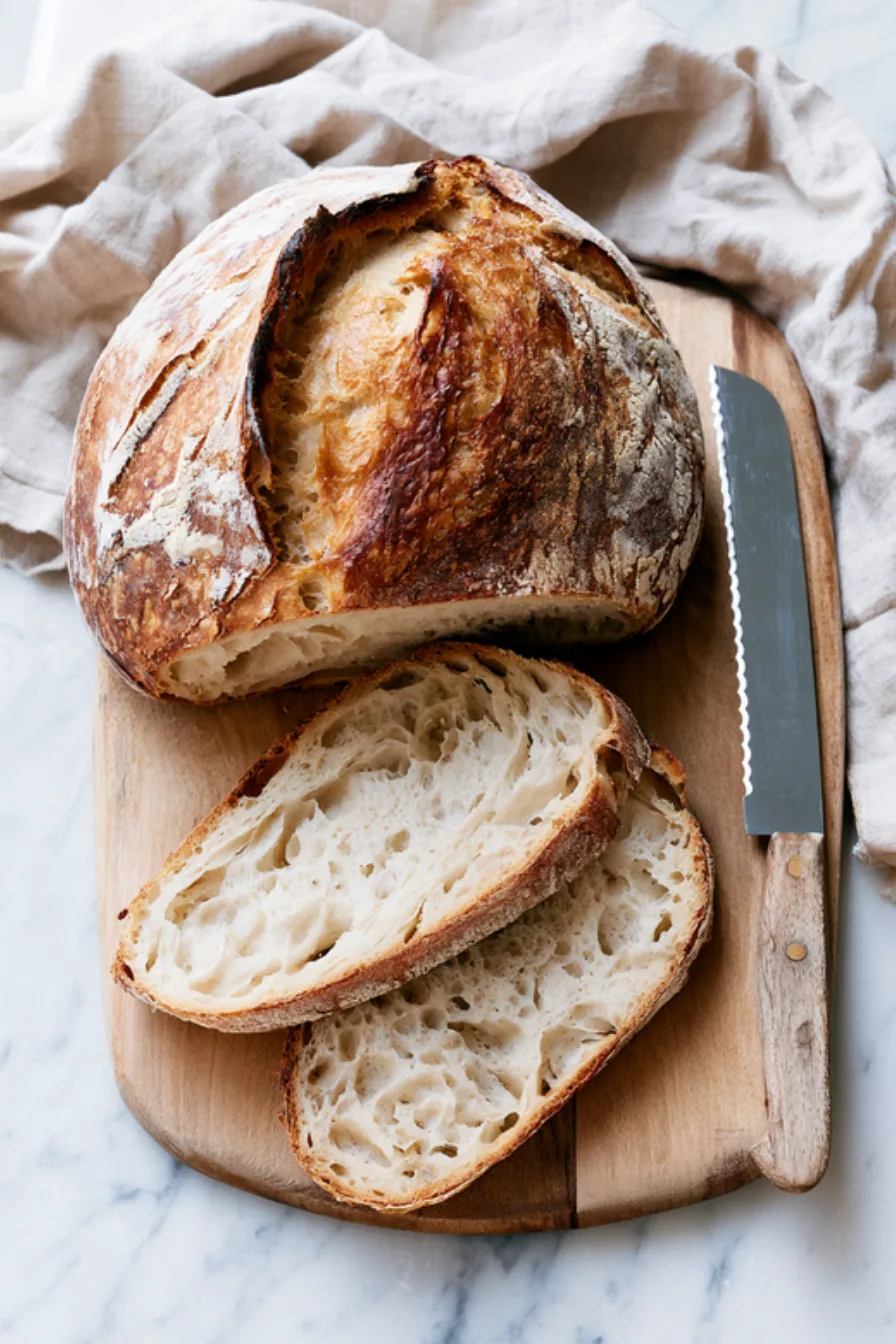
Four ingredients, one bowl, one pot and no kneading. That is all it takes to bake a round, crackly-crusted loaf that looks like it came from a bakery. This no-knead bread is mixed in two minutes, left alone to rise, folded a few times and baked in a very hot Dutch oven. The pot does the hard work: it traps steam around the dough for the first half of the bake, so the loaf rises tall and the crust turns thin, blistered and deeply golden once the lid comes off.
Unlike the classic overnight versions, this one is a same-day bread. A full packet of yeast gets the dough ready in about two hours, so you can mix it after lunch and slice it with dinner. The inside comes out soft, chewy and full of irregular holes, the kind of crumb that soaks up soup, butter or olive oil.
Ingredients
- 4 cups (about 500 g) all-purpose flour, plus extra for shaping – spoon it into the cup and level it off. Scooping straight from the bag packs in more flour and makes a stiffer dough.
- 2 cups (480 ml) warm water, about 110°F (43°C) – warm to the touch, never hot.
- 2 1/2 tsp (one 1/4-oz / 7 g packet) yeast – instant or active dry both work here.
- 2 tsp fine salt, or 1 tbsp Diamond Crystal kosher salt – the original viral recipe calls for 1 to 2 tablespoons, but that is a lot of fine salt for 500 g of flour. Start with this amount and add more next time if you like a saltier loaf.
How to Make It
1. Mix the dough – 2 minutes
In a large bowl, stir together the flour, yeast and salt. Pour in the warm water and mix with a sturdy spoon or spatula until no dry flour remains. The dough will look shaggy, wet and very sticky. That is exactly right; do not add more flour.
2. First rise – 2 hours
Cover the bowl with a kitchen towel and leave it somewhere warm. It is ready when it has at least doubled, the surface is dotted with bubbles and the dough jiggles when you shake the bowl.
3. Fold into a ball – 2 minutes
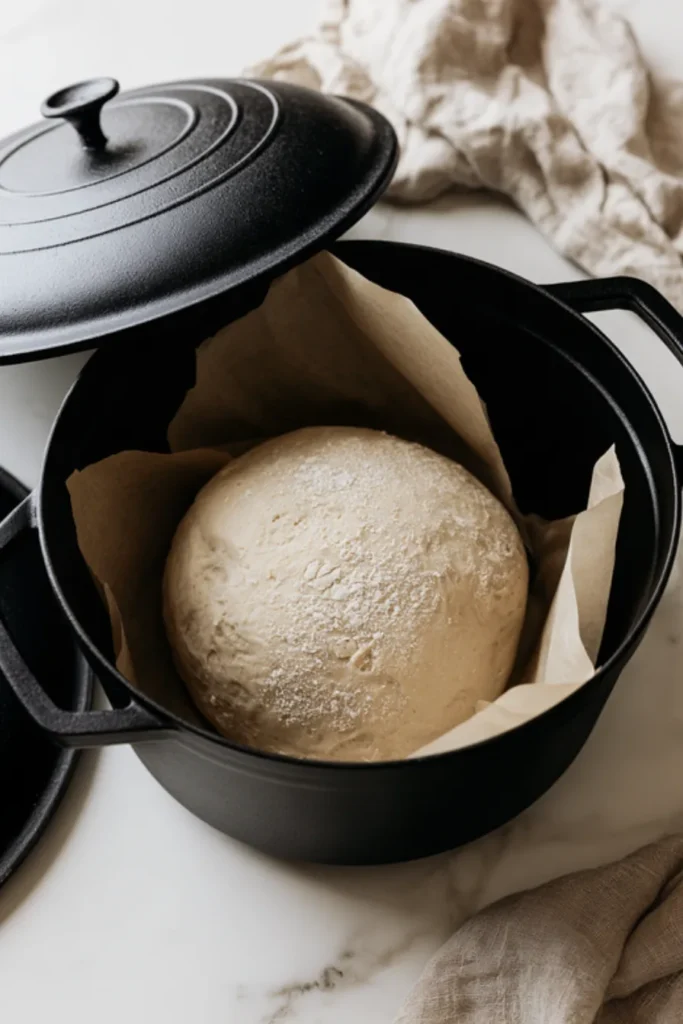
Generously flour your work surface and your hands. Tip the dough out and fold it over itself 4 or 5 times, turning it a quarter turn between folds, then tuck the edges underneath to form a round ball. Set it seam side down on a sheet of parchment paper. The dough should hold a loose dome shape. It will spread a little, and that is fine.
4. Second rise and preheat – 30 minutes
Cover the dough loosely with the towel. Right away, place the empty Dutch oven with its lid in the oven and heat it to 450°F (230°C), so the pot heats up while the dough rests. The dough should look puffy and spring back slowly when you press it gently with a floured finger.
5. Bake covered – 450°F (230°C), 30 minutes
Using oven mitts, take the very hot pot out of the oven and remove the lid. Lift the dough by the parchment and lower it into the pot, paper and all. Cover and return it to the oven. Steam trapped under the lid helps the loaf rise and keeps the crust from setting too early.
6. Bake uncovered – 15 minutes
Remove the lid and bake until the crust is deep golden brown. The loaf is done when it sounds hollow when tapped on the bottom, or when an instant-read thermometer in the center reads about 205 to 210°F (96 to 99°C).
7. Cool – 1 hour
Lift the bread out by the parchment and let it cool on a wire rack before slicing. You will hear the crust crackle as it cools. Cutting it hot makes the inside gummy, because the crumb is still setting.
Why It Works Without Kneading
Kneading builds gluten, the stretchy network that gives bread its structure. This dough skips that step and gets there another way. Because it is so wet, the flour proteins can move around freely and link up on their own while the dough rises. The few folds in step 3 then line up and tighten that network just enough for the loaf to hold its shape.
The Dutch oven is the other half of the trick. A home oven is too dry to bake a crusty loaf on its own. The heavy, preheated pot surrounds the dough with intense heat from every side, and the lid keeps the moisture from the dough inside as steam. That steam keeps the surface soft for the first 30 minutes so the bread can expand fully. Once the lid comes off, the dry heat browns and crisps the crust.
Choosing Your Flour
All-purpose flour gives a tender, chewy loaf and is what the recipe is written for. Other flours work too, with a few changes.
| Flour | Result | Adjustment |
|---|---|---|
| All-purpose | Chewy, open crumb, thin crisp crust | Use as written |
| Bread flour | Taller loaf, chewier bite | Same amounts; the dough is slightly easier to shape |
| Part whole wheat | Nuttier, denser, darker crust | Replace up to 1 1/2 cups; add 2 to 3 tbsp more water |
| Self-rising | Not recommended | It already contains salt and baking powder |
| Gluten-free blend | Will not hold a round shape | Use a recipe written for gluten-free bread |
If your dough spreads into a flat puddle when you shape it, your flour absorbs less water than average. Next time, hold back 1/4 cup of the water.
Yeast, Salt and Water
With only four ingredients, each one matters. The water temperature is the one most likely to cause trouble. New Mexico State University’s breadmaking guide explains that liquids that are too hot will kill the yeast, while cold liquids slow it down or stop it, and it recommends checking with a thermometer until you know the feel. The same guide notes that salt gives bread its flavor and a fine texture, and that too much of it slows the yeast, which is another reason not to overdo the salt in this recipe.
Instant yeast and active dry yeast both work with this method, because the long rise gives active dry yeast plenty of time to wake up. If your kitchen is cool, the first rise may take closer to 3 hours. Judge by the look of the dough, not the clock.
Frequently Asked Questions
Can I make it without a Dutch oven?
Yes. Bake the loaf on a preheated baking sheet or pizza stone and place a metal pan on the rack below. Pour a cup of hot water into the pan as you put the bread in to create steam. The crust will be a little less crisp and the loaf a little flatter.
Why is my bread gummy inside?
Usually it was sliced too soon or slightly underbaked. Let it cool for a full hour, and check that the center reaches about 205°F next time.
Can I let the dough rise overnight?
Yes. After mixing, cover the bowl and refrigerate it overnight, for up to 12 hours. The cold slows the yeast and develops a deeper flavor. Let the dough sit at room temperature for about an hour before shaping.
How do I store it?
Keep the loaf cut side down on a board or in a paper bag for up to 2 days. Plastic softens the crust. For longer storage, slice and freeze it, then toast slices straight from the freezer.
A warm slice of this bread is made for dipping, so serve it with a bowl of restaurant-style French onion soup, crockpot beef stew or high-protein broccoli cheddar soup. Thick slices also make a great base for a steak grilled cheese, and you will find more ideas among the dinner recipes.
No-Knead Dutch Oven Bread
Ingredients
Method
- In a large bowl, stir together the flour, yeast and salt. Add the warm water and mix until no dry flour remains. The dough will be wet, shaggy and sticky.
- Cover with a kitchen towel and let rise in a warm spot for about 2 hours, until at least doubled, bubbly and jiggly.
- Turn the dough out onto a well-floured surface and fold it over itself 4 or 5 times, then tuck the edges under to form a round ball. Place it seam side down on a sheet of parchment paper.
- Cover loosely and let rest 30 minutes. Meanwhile, place a 5- to 7-quart Dutch oven with its lid in the oven and preheat to 450°F (230°C).
- Carefully remove the hot pot, lower the dough into it on the parchment, cover and bake for 30 minutes.
- Remove the lid and bake 15 minutes more, until deep golden brown and the center reads about 205 to 210°F (96 to 99°C).
- Lift the loaf out and cool on a wire rack for 1 hour before slicing.
Notes



Leave a Reply